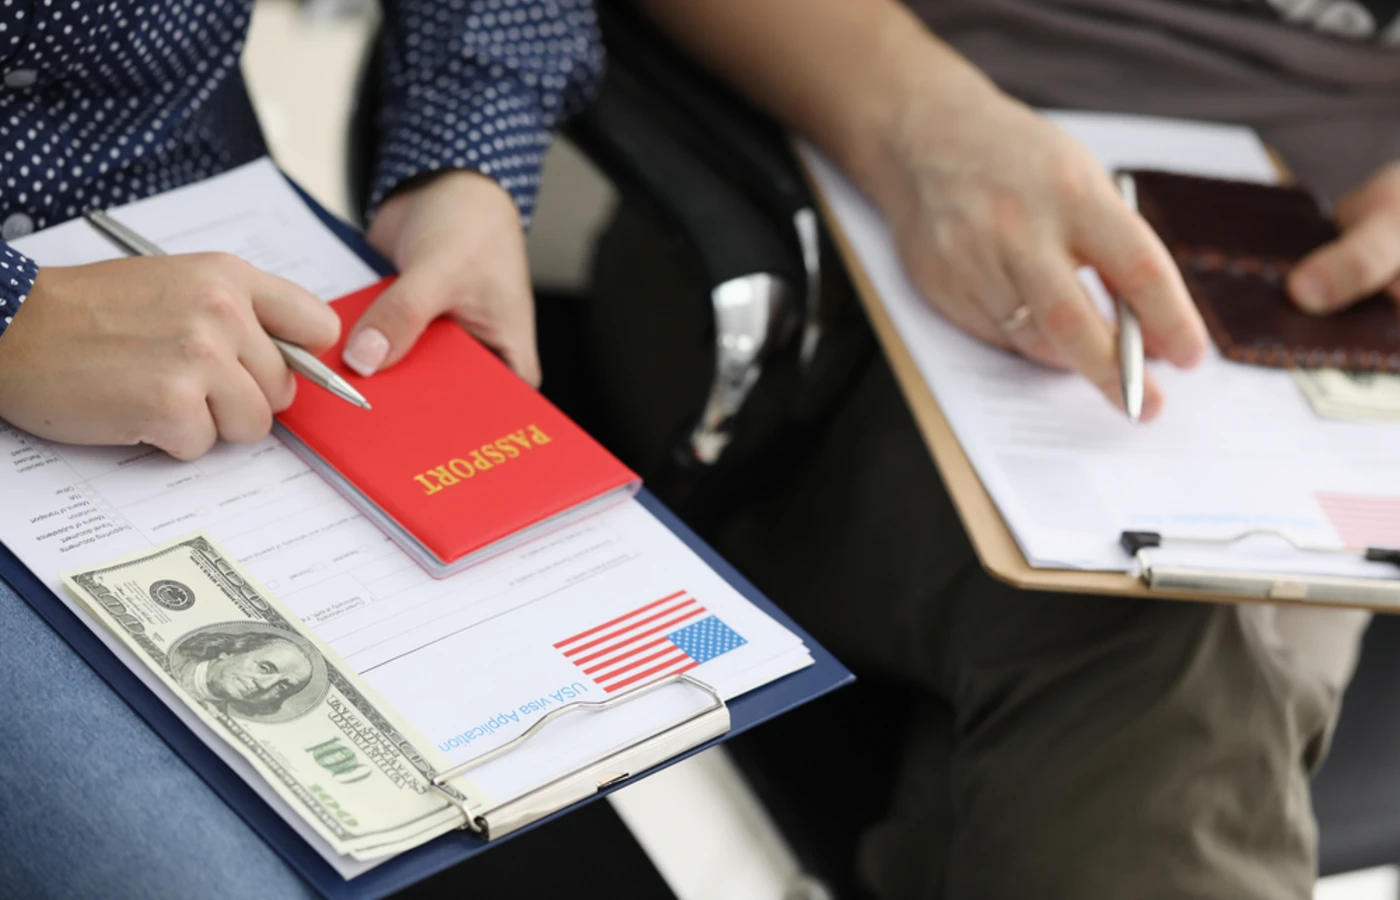
If you are planning a trip to the United States of America, the first step is to apply for a US visa, regardless of your reason for visiting the country. And anyone who has ever applied for a US visa would know that the process can be a bit overwhelming. There are documents to be submitted, a form to be filled out, and an interview to be attended. While a lot has been written about attending an interview and the list of documents to be submitted, not many know that filling out the visa form is also equally important. Anyone applying for a US visa must fill in the DS-160 form. Here is a complete guide to everything you need to know about the DS-160 form for a USA visa.
What is the DS-160 Form?
 DS-160 is a non-immigration visa application form that must be submitted by all individuals planning to visit the USA in a temporary capacity. The DS-160 is the form you need to submit when you are applying for a US tourist visa. But this is not the only purpose of this visa form. In fact, this form is applicable for different types of visas.
- B1/B2 Visitor Visa: This US visa is for those traveling to the country for business, personal, or tourism purposes.
- F-1 and M-1 Visa: This US visa type is for students who want to pursue an academic or vocational course or training in the country.
- K Visa: This visa is for the spouse, fiancé, and children of US citizens.
- H-1B Visa: This US visa is for professionals in specialty occupations.
- J-1 Visa: This US visa is for participants in educational and cultural exchange programs.
- L-1 Visa: This US visa is for intracompany transferees.
- P Visa: This US visa is for entertainers, athletes, and artists.
- O-1 Visa: The O-1 visa is for individuals recognized for their extraordinary skills, abilities, and achievements.
If you need to visit the US for any of the above reasons, you must complete and submit the DS-160 form. This form is available online and has to be submitted online. Paper submissions via this form are not required and not allowed. An important thing to remember is that you must always access the form through the official U.S. Department of State website. You must refrain from getting this form from a third-party website.
Step-by-Step Process to Fill DS-160 Form
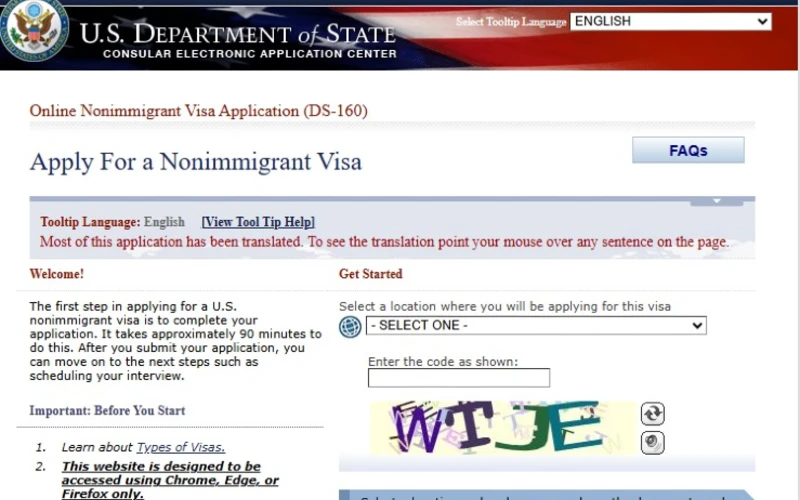
Image credit: https://ceac.state.gov/genniv/
Filling out the form may seem a bit overwhelming, as it has numerous pages and various sections. It may take around 90 minutes to fill out this form. It is also possible to save the form and complete it over a few days, as it will be available to you for 30 days. Here is how to fill out the DS-160 application form systematically.
Step 1: Access the Form Online
The first step is to get access to the form. You need to get it from the official website. Opt for DS-160 – online non-immigrant visa application. Once you have the right form, choose the city and country where you want to attend the visa interview.
Step 2: Make a Note of the Application ID
Once you get the visa application form, the next step is to get the application ID. This will be available in the top-right corner of the application form. It is important to note down the number so that you can access it if you get logged off or do not have time to fill in the form in one sitting.
Step 3: Personal Information
Once you have the form in front of you, the next step is to provide all your personal information. This will include your full name, nationality, passport number, date of birth, and marital status. It is important that your personal information matches that on your passport. Also, if you have dual citizenship, this should also be mentioned at this point. An explanation section is available if you need to provide clarifications for any of the information you provide in this section.
Step 4: Travel Information
After providing your personal information, it is now time to provide all your travel information. The first thing to mention here is the purpose of your visit to the US. This could be tourism, business, visiting family/friends, studies, a job, etc. Apart from this, you need to provide information on the duration of your visit, your entry and exit dates (tentative dates are accepted), the places you are going to visit, and where you are going to stay.
Step 5: Travel Companions
Although every person traveling to the US needs their own separate visa application, you will have to mention the people you are traveling with on your form.
Step 6: Previous US Travel History
The next thing you need to do is to mention your US travel history. If you have ever traveled to the US, you need to mention it. This includes dates of your previous visits and visa details. If your US visa application has been denied before, you must also mention this on the form.
Step 7: Family Information
The DS-160 form requires you to provide basic details of your family members. This includes information about your parents, such as their names and date of birth. You also need to mention their address, especially if they live in the US. If you are married, your spouse’s details should also be included on your form. These details include the name of your spouse, nationality, birthdate, and home address.
Step 8: Work and Education
The next section is work and education. You will have to provide your employment details, such as the name of the employer/organization, address, designation, and salary. Apart from your current job, you will have to provide employment information for the last five years as well. Students applying for a US visa will have to provide information about schools and training programs they have attended. All this is important because it helps the visa officials ensure that you have ties to your home country.
Step 9: U.S. Point of Contact
As a US visa applicant, you will have to provide information about a friend/relative residing in the US as a point of contact to verify your identity. This could be a business or organization as well. Submitting an invitation letter for US visa from this individual or organization would strengthen your visa application. In case you do not know any person in the US, you can provide the information about the hotel you are going to stay in the country.
Step 10: Security and Background Information
This section of the form includes a list of questions that you must answer with a “yes” or “no.” These questions would be related to medical history, drug use, security concerns, criminal background, immigration law violations, and more. It is important to answer all these questions honestly.
Step 11: Social Media Information
It has become necessary to share information about the social media accounts that you have used in the last five years. This includes your social media handles for X, Meta, Instagram, TikTok, etc. Visa officials check these accounts while reviewing a visa application to establish your identity.
Step 12: Upload Passport Size Photograph
Once you’ve completed all the sections, you need to upload a passport-size photograph to go with your application. The photo should be 2×2 inches (51mm x 51mm). It should be a colored photograph with a plain white background. The expression on your face should be neutral. The photo should be recent, too. It is permitted to use online tools to resize photos. However, one must not make any digital changes to one’s appearance.
Step 13: Review and Submit
Once you have completed all sections, it is time to review the form. It is important to ensure there are no mistakes in your form, whether spelling or factual. Remember that errors or mistakes in the form are among the most common US visa rejection reasons. Hence, take ample time to go through your application form before you hit the submit button.
Step 14: Save and Print the Confirmation Page
When you submit the DS-160 form, you will receive a confirmation page with a barcode. You need to first save this page as a PDF and get a printout of it. You need to carry this printed page with you when you visit the US embassy or consulate for your US visa interview.
Tips for Filling the DS-160 Form Correctly
- Cross-check the personal information you have provided on the form with your passport. All the information on the form should match the information on your passport.
- The online form resets itself after 20 minutes. Hence, it is important to save the information as you fill out the form. If you do not save it, you are likely to lose the information you have saved, requiring you to redo the whole process.
- Always be honest with the information you provide. If you are found to be distorting facts to get an approval, your visa application is likely to be rejected.
- It is important to review your form before you submit it. If possible, involve a third party to get your form reviewed.
Common Mistakes to Avoid
Making a mistake in the DS-160 form can lead to rejection of your visa application. Hence, you need to be aware of these common mistakes and avoid them.
- Do not provide inaccurate or inconsistent information. Date of birth, name, address, passport number, etc., should be accurate.
- Do not make haste while filling in the form. Take time to review each and every section before submitting the form.
- Do not submit photographs that do not meet US visa photo requirements.
- Do not leave any field blank in the DS-160 form, unless it is mentioned as optional. This may cause unnecessary delays in your visa process. If the field does not apply to you, you must write “Not Applicable.”
- Do not forget to print your confirmation page. You need to produce it at your visa appointment.
Frequently Asked Questions
Here are answers to some of the DS-160 Frequently Asked Questions that will give you more clarity about filling out and submitting it.
Q. Is it possible to edit the DS-160 form after submitting it?
Q. Is one form enough for the entire family?
Q. What documents do you need to submit along with the DS-160 form?
- Passport
- Travel itinerary
- Dates of last five US visits (if applicable)
- Proof of work and education history
- Additional documents as per the type of visa you are applying for.
Q. How long is the DS-160 form valid after it is submitted?
Q. Is there a fee for submitting the DS-160 form?
Q. What should I do if my session expires when I am in the middle of filling out the form?
Conclusion
The DS-160 form may seem intimidating. But if you go through it step by step, there’s very little chance of making any mistakes. So, relax, take a deep breath, and go through the online form with patience and focus. Alternatively, you can hire a reliable visa agent to fill in the form and schedule the visa interview appointment for you. Rayna Tours is a trusted visa agent that can help you complete and submit the DS-160 form for your US visa.